Pendant Instructions

Follow these step-by-step instructions to take your fingerprint or pet print impressions.

Warming wax ball with hair dryer

1. Heat The Wax

Warm the wax until it’s soft and easy to press between your fingers. You can use a hair dryer or place it in hot (not boiling) water. If it becomes sticky or starts to melt, let it cool and try again. Once warm, roll the wax into a ball.
Child leaving fingerprint impression in wax

2. Take Your Print: Single-Sided

Keeping the wax on the baking paper, place both onto a smooth, flat surface. Ensure your finger is clean and dry, then press firmly into the wax to leave a clear impression.
Close up of two people leaving fingerprint impressions on either size of a ball of wax

2. Take Your Print: Double-Sided

Roll the wax into a ball and, holding it gently by the edges, position both fingers on opposite sides. Press both fingers into the wax evenly and simultaneously.
Close up of two people leaving fingerprint impressions side-by-side

2. Take Your Print: Side-By-Side

Use this method for a Heart Pendant. Place the wax on a smooth, flat surface. Position both fingers side-by-side and centre them over the wax ball. Firmly press both fingers into the wax evenly and simultaneously.
People taking a wax impression of dog's nose

2. Take Your Print: Pet Prints

Make sure the paw or nose is clean and dry, then press the warm wax firmly into it. If you don't want your fingerprint impression on the back, keep the baking paper between your finger and the wax.
Wax fingerprint impression

3. Check Your Print

If you can see the print clearly with your eye, it will turn out great. Not happy? Reheat, reshape, and try again. We can’t improve impressions, so make sure you’re happy before returning them.
Wax fingerprint impression

4. Prep your Return

Place each wax print back into its own pot with the baking paper on either side. You’ll receive 2-3 pieces of wax per order - leave impressions on all pieces so we can choose the best one for casting.
Wax impression print kit

5. Final Steps

Check the details on the order info card, then place everything back in the box with the shredded paper. Stick the prepaid returns label over the original postage label and drop it off at the post office.

FAQs

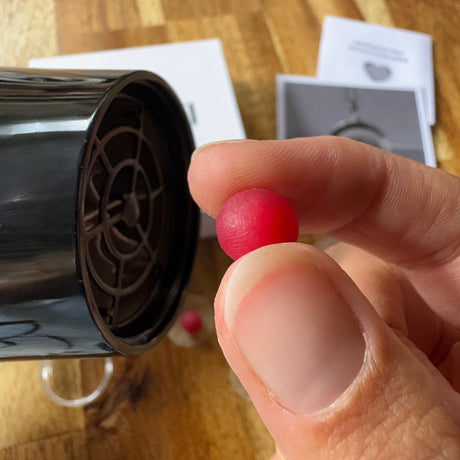
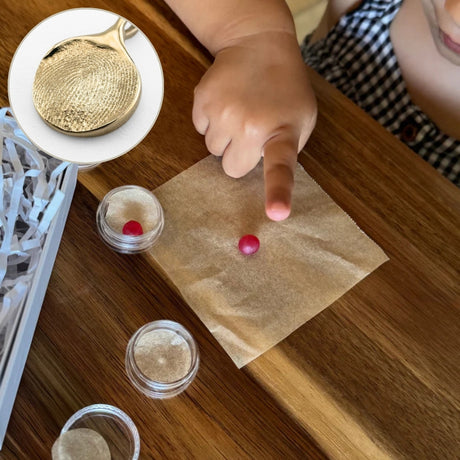
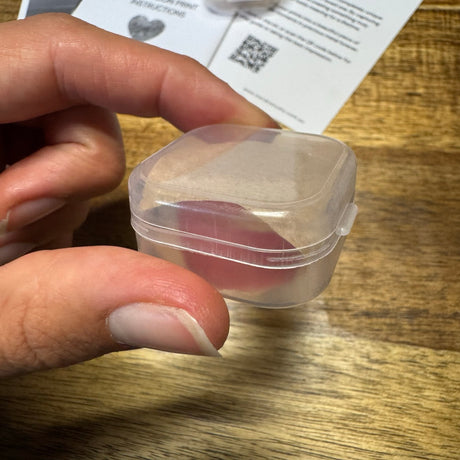
Make sure you're in a well-lit area. If you can see a clear print with the naked eye, it will turn out perfectly.

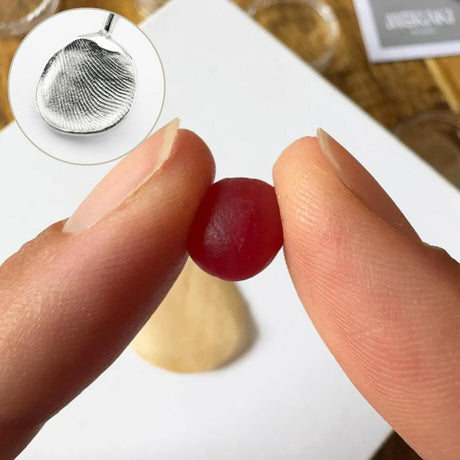
If you’re not happy with the result, just reheat the wax and try again.

If you're unsure, feel free to reach out at shop@merakistudio.com.au, and we’ll be happy to assess the prints via email.

We can refine small imperfections, but the final result depends on the quality of the impression you provide.

We will contact you if we believe the prints are unsuitable for casting, and you will need to purchase a new Wax Impression Kit to retake the impressions.

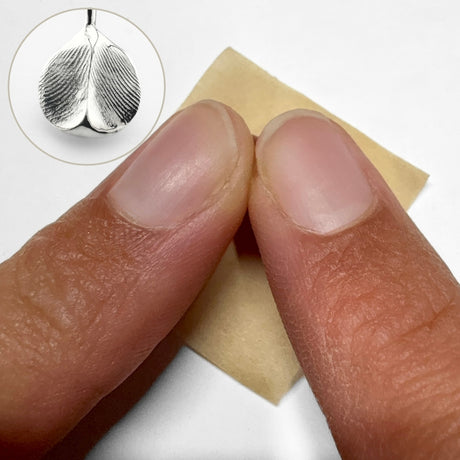
Yes! Please leave impressions on all the wax pieces provided and return them all to me. This allows me to select the best print for casting.

That's no problem, just shoot us a message and make a note on your order info card in your wax kit. We will do the rest!

Both make beautiful impressions. It really depends on your pet - some are more sensitive to their paws being touched, while others may find it hard watching you press the wax onto their nose. If you’re unsure which to choose, try both and see which works best for you and your pup.

If you can, have a second person available to distract them with a treat. You can also place the wax on the floor (on top of the baking paper) and press their paw down onto the wax.

Don't worry, we will reshape the wax impressions before casting them in your choice of metal.