

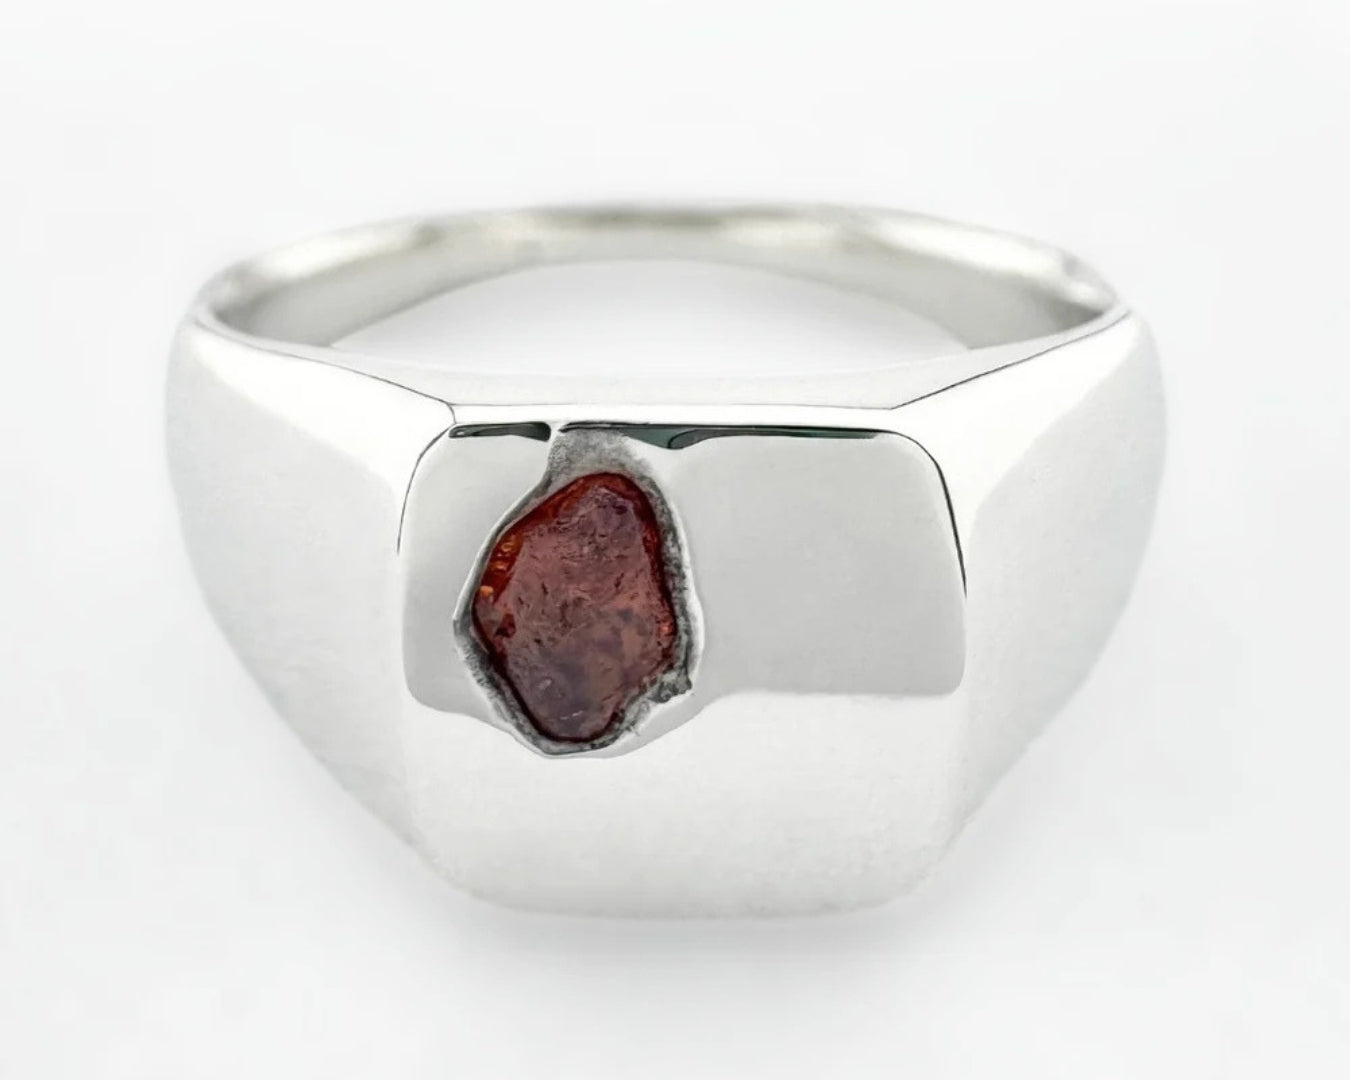
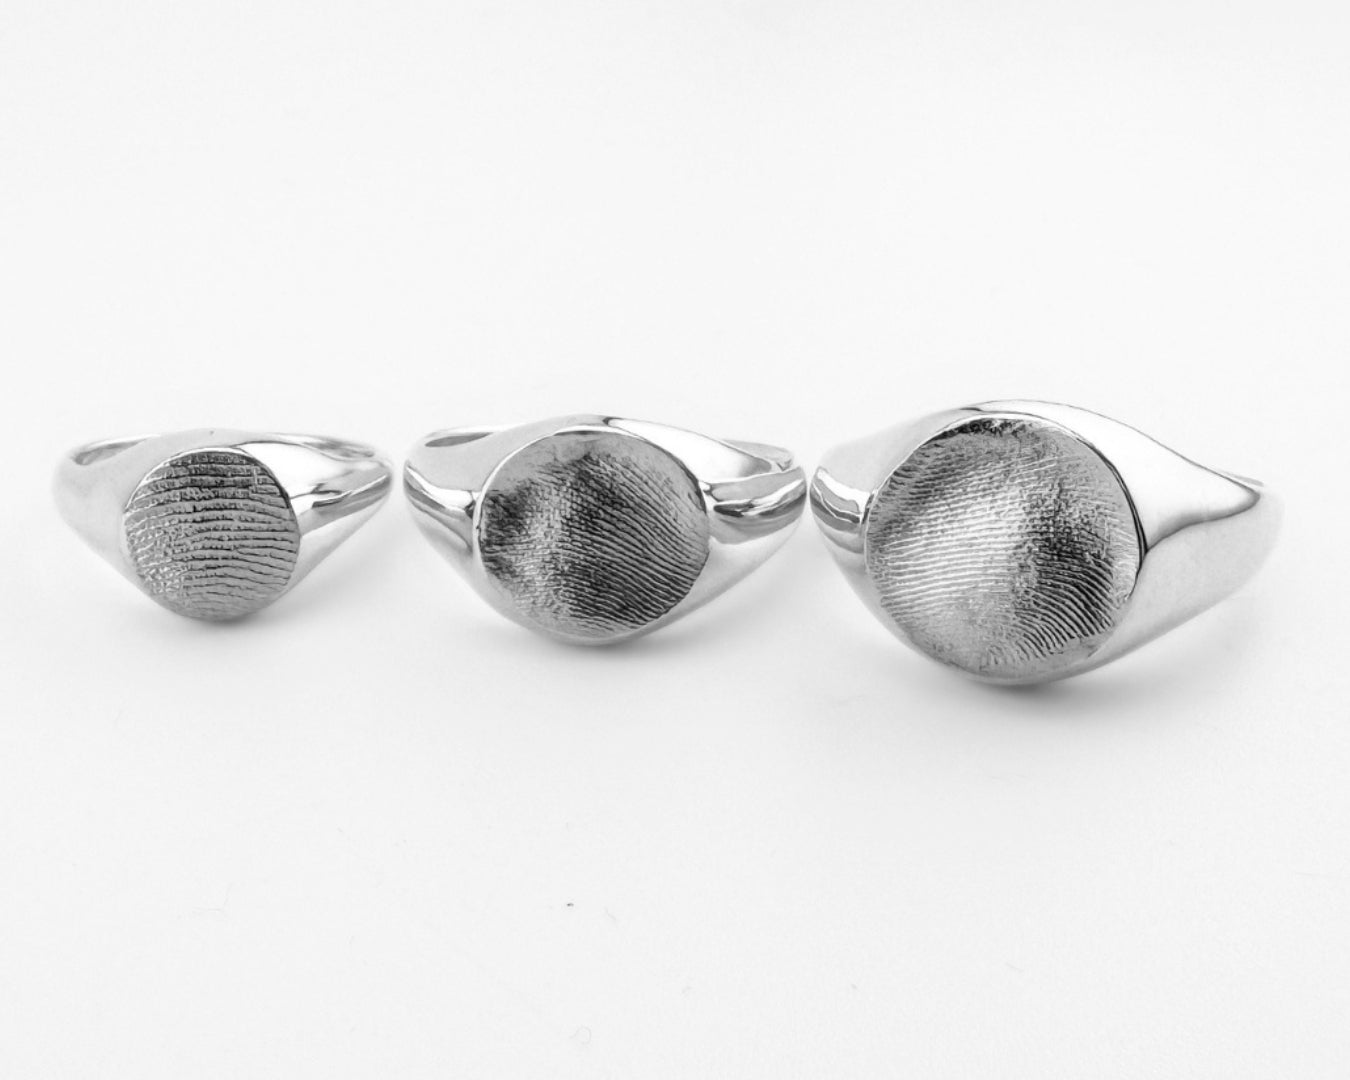
Fingerprint & Pet Print Instructions
Select your jewellery style below to view the step-by-step instructions for capturing your custom impressions:


Step 1: Warm Wax
Warm the wax in a cup of hot water, roughly the temp of a drinkable cup of tea. The wax needs to be soft enough to easily squash between your fingers.
If it becomes sticky, it is overheated - just let it cool and try again.
Step 2: Shape Wax
Roll the wax between your fingers into a smooth ball.
Blend away as many cracks and folds as possible.
Step 3: Take Impression
Lay the parchment paper over your pendant size and place the wax on top. Firmly press down to leave a clear impression.
- Children & Paws: Place your finger over theirs to apply enough pressure for a clear impression.
- Pet Noses: Press the wax straight onto their nose (ignore size guide).
- Sizing tip: The guide is optional. For a smaller, chunkier pendant, press lighter. For a larger, thinner pendant, apply more pressure.
- Important Note: If you want to include more than one impression, please follow the instructions for double-sided or side-by-side pendants.
Tips for babies
Infants under 12 months often don't have clearly defined fingerprints yet.
A beautiful alternative is to capture the unique folds and creases in between their fingers, which have clear definition.
Step 4: Check Impression
If you can see a clear impression, it will cast beautifully. Not happy? Reheat, reshape, and try again.
If you see cracks in your wax, it wasn't warm enough. Any imperfections on the face of your print will be visible in your finished piece.
- Classic pendants mirror the shape, size, and thickness of your wax.
- Mini pendants mirror the thickness, but are carefully shaped from your print.
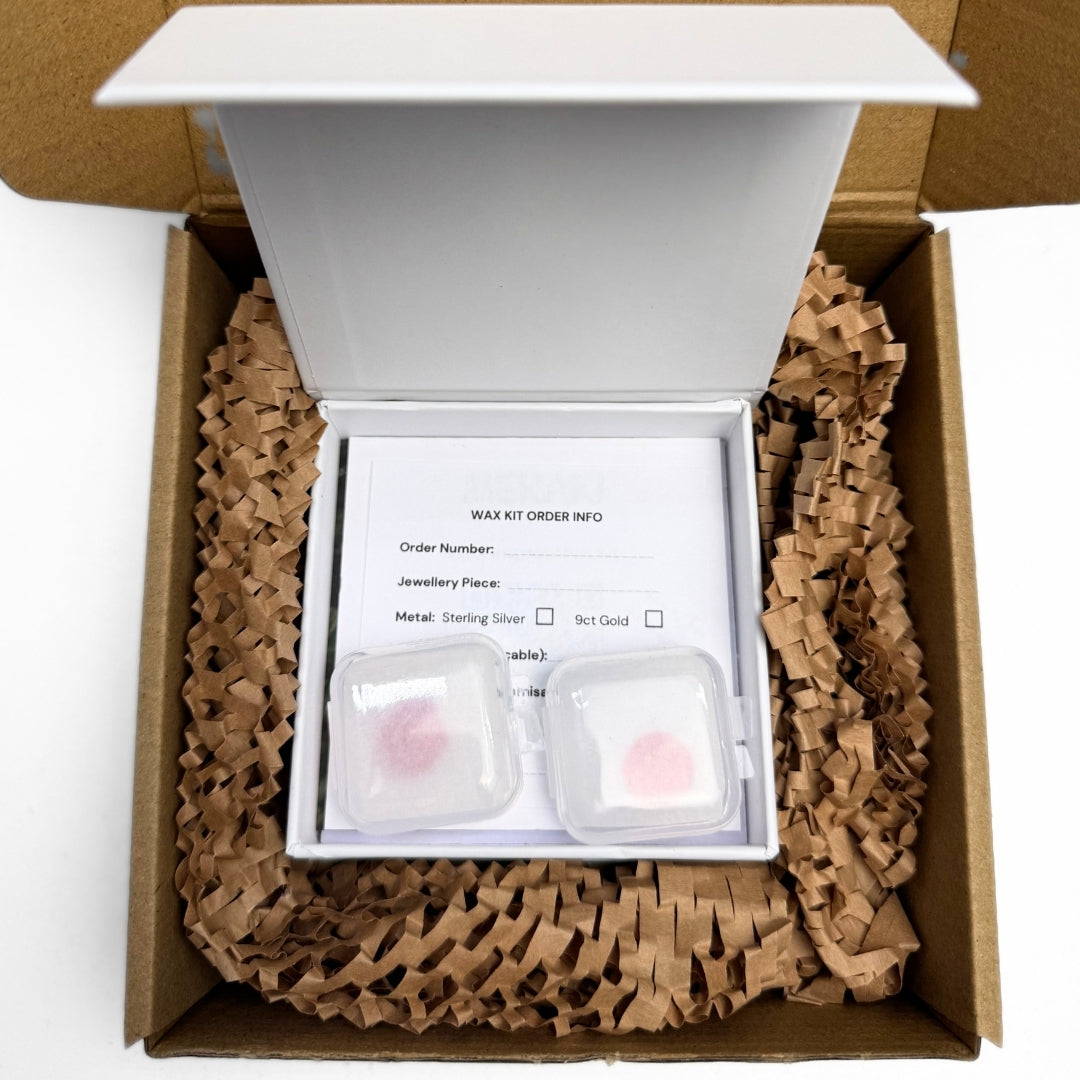
Final Step: Prep Return
Please leave impressions on all the pieces of wax provided so I can choose the best one for casting. If you have a favourite, simply mark it with the labels provided.
Place each impression in its own pot between the pieces of parchment paper - do not combine prints.
Double-check your order details, pack everything into the original box, apply the prepaid label, and drop it off at the post office.

Step 1: Warm Wax
Warm the wax in a cup of hot water, roughly the temp of a drinkable cup of tea. The wax needs to be soft enough to easily squash between your fingers.
If it becomes sticky, it is overheated - just let it cool and try again.
Step 2: Shape Wax
Roll the wax between your fingers into a smooth ball.
Blend away as many cracks and folds as possible.
Step 3: Take Impressions
Lay the parchment paper over your pendant size and place the wax on top.
Position both fingers over the wax, side by side. Press both fingers firmly into the wax at the same time.
- For Children: Guide their fingers side by side over the wax, then place your own fingers over theirs to apply enough pressure for a clear impression.
- Sizing Tip: The guide is optional. For a smaller, chunkier pendant, apply lighter pressure. For a larger, thinner pendant, apply more pressure to widen the shape.
- Important Note: Please leave both impressions on the same piece of wax. Separate pieces of wax cannot be joined during casting.
Step 4: Check Impressions
If you can see a clear impression, it will cast beautifully. Not happy? Reheat, reshape, and try again.
If you see cracks in your wax, it wasn't warm enough. Any imperfections on the face of your print will be visible in your finished piece.
- Classic pendants mirror the shape, size, and thickness of your wax.
- Heart pendants mirror the thickness, but are carefully shaped from your print.
Final Step: Prep Return
Please leave impressions on all the pieces of wax provided so I can choose the best one for casting. If you have a favourite, simply mark it with the labels provided.
Place each impression in its own pot between the pieces of parchment paper - do not combine prints.
Double-check your order details, pack everything into the original box, apply the prepaid label, and drop it off at the post office.
Step 1: Warm Wax
Warm the wax in a cup of hot water, roughly the temp of a drinkable cup of tea. The wax needs to be soft enough to easily squash between your fingers.
If it becomes sticky, it is overheated - just let it cool and try again.
Step 2: Shape Wax
Roll the wax between your fingers into a smooth ball.
Blend away as many cracks and folds as possible.
Step 3: Take Impressions
- Adult Fingerprints: Position both fingers on opposite sides of the wax, then press both fingers into the wax evenly and simultaneously.
- Children's Fingerprints: Position both fingers on opposite sides of the wax. Place your own fingers over theirs and apply even, steady pressure to both sides, leaving a clear impression on both sides.
- Pet Print & Fingerprint: Position your finger over the centre of the wax and firmly press it into your dog's paw or nose, leaving a clear impression on both sides.
- Sizing Tip: The size guide is optional. For a smaller, chunkier pendant, apply lighter pressure. For a larger, thinner pendant, apply more pressure.
- Important Note: Please leave both impressions on the same piece of wax. Separate pieces of wax cannot be joined during casting.
Step 4: Check Impressions
If you can see a clear impression, it will cast beautifully. Not happy? Reheat, reshape, and try again.
If you see cracks in your wax, it wasn't warm enough. Any imperfections on the face of your print will be visible in your finished piece.
Your pendant will mirror the exact shape, size, and thickness of your wax.
Final Step: Prep Return
Please leave impressions on all the pieces of wax provided so I can choose the best one for casting. If you have a favourite, simply mark it with the labels provided.
Place each impression in its own pot between the pieces of parchment paper - do not combine prints.
Double-check your order details, pack everything into the original box, apply the prepaid label, and drop it off at the post office.

Step 1: Warm Wax
Warm the wax in a cup of hot water, roughly the temp of a drinkable cup of tea. The wax needs to be soft enough to easily squash between your fingers.
If it becomes sticky, it is overheated - just let it cool and try again.
Step 2: Shape Wax
Roll the wax into a long, oblong shape until it's roughly the length of the Family Bar size guide, or long enough to fit all the impressions you want to include.
Smooth out as many cracks and folds as possible.
Step 3: Take impressions
For Two Fingerprints or Pet Prints:
Place the wax on top of the parchment paper. Take it in turns to press into the wax at opposite ends, leaving two clear impressions.
- Children & Paws: Place your finger over theirs to apply enough pressure for a clear impression.
- Pet Noses: Press the wax straight onto their nose (ignore size guide).
- Sizing Tip: The guide is optional. For a smaller, chunkier pendant, apply lighter pressure. For a larger, thinner pendant, apply more pressure to widen the shape.
Step: Take impressions
For Three Fingerprints:
Place the wax on top of the parchment paper. Starting at one end, take it in turns to press into the wax, alternating the direction of each print.
- Children: Place your finger over theirs to apply enough pressure for a clear impression.
- Sizing Tip: The guide is optional. For a smaller, chunkier pendant, apply lighter pressure. For a larger, thinner pendant, apply more pressure to widen the shape.
Step 4: Check Impressions
If you can see a clear impression, it will cast beautifully. Not happy? Reheat, reshape, and try again.
If you see cracks in your wax, it wasn't warm enough. Any imperfections on the face of your print will be visible in your finished piece.
Your pendant will mirror the exact thickness of your wax, but will be carefully trimmed into a bar shape.
Final Step: Prep Return
Please leave impressions on all the pieces of wax provided so I can choose the best one for casting. If you have a favourite, simply mark it with the labels provided.
Place each impression in its own pot between the pieces of parchment paper - do not combine prints.
Double-check your order details, pack everything into the original box, apply the prepaid label, and drop it off at the post office.

Step 1: Warm Wax
Warm the wax in a cup of hot water, roughly the temp of a drinkable cup of tea. The wax needs to be soft enough to easily squash between your fingers.
If it becomes sticky, it is overheated - just let it cool and try again.
Step 2: Shape Wax
Roll the wax between your fingers into a smooth ball.
Blend away as many cracks and folds as possible.
Step 3: Take Impression
Lay the parchment paper over your signet ring size and place the wax on top. Firmly press down to leave a clear impression.
- Children & Paws: Place your finger over theirs to apply enough pressure for a clear impression.
- Pet Noses: Press the wax straight onto their nose (ignore size guide).
Tips for babies
Infants under 12 months often don't have clearly defined fingerprints yet.
A beautiful alternative is to capture the unique folds and creases in between their fingers, which have clear definition.
Step 4: Check Impression
If you can see a clear impression, it will cast beautifully. Not happy? Reheat, reshape, and try again.
If you see cracks in your wax, it wasn't warm enough. Any imperfections on the face of your print will be visible in your finished piece.
Important: Please ensure your impression completely covers the size guide of your chosen ring size.
Final Step: Prep Return
Please leave impressions on all the pieces of wax provided so I can choose the best one for casting. If you have a favourite, simply mark it with the labels provided.
Place each impression in its own pot between the pieces of parchment paper - do not combine prints.
Double-check your order details, pack everything into the original box, apply the prepaid label, and drop it off at the post office.

Step 1: Warm Wax
Warm the wax in a cup of hot water, roughly the temp of a drinkable cup of tea. The wax needs to be soft enough to easily squash between your fingers.
If it becomes sticky, it is overheated - just let it cool and try again.
Step 2: Shape Wax
Roll the wax into a long, oblong shape until it reaches approximately the length of the ring band template on the size guide.
Smooth out as many cracks and folds as possible.
Step 3: Take Impression
Place the parchment paper over the ring shaper with your wax on top. Press firmly straight down into the wax, leaving a clear impression with a slightly curved shape.
- For Multiple Prints: Take turns pressing each fingerprint, paw, or nose into the wax side by side. There should be no gaps between the impressions.
- Children & Paws: Place your finger over theirs to apply enough pressure for a clear impression
- Pet Noses: Firmly press both the wax and ring shaper into their nose, leaving a clear impression.
Tips for babies
Infants under 12 months often don't have clearly defined fingerprints yet.
A beautiful alternative is to capture the unique folds and creases in between their fingers, which have clear definition.
Step 4: Check Impression
If you can see a clear impression, it will cast beautifully. Not happy? Reheat, reshape, and try again.
If you see cracks in your wax, it wasn't warm enough. Any imperfections on the face of your print will be visible in your finished piece.
Final Step: Prep Return
Please leave impressions on all the pieces of wax provided so I can choose the best one for casting. If you have a favourite, simply mark it with the labels provided.
Place each impression in its own pot between the pieces of parchment paper - do not combine prints.
Double-check your order details, pack everything into the original box, apply the prepaid label, and drop it off at the post office.